1. Download and install BlueStacks
First, download BlueStacks App Player. Bear in mind that the download is more than 300MB, so it might take some time.
With the download complete, double click the executable to start the installation and wait for the necessary files are extracted. Due to the size of the main file, you may find that this takes a few moments. Click Next to agree to the terms of the license and run through the rest of the installation; accept the default options and you'll be ready to roll in next to no time.

2. Sign into BlueStacks
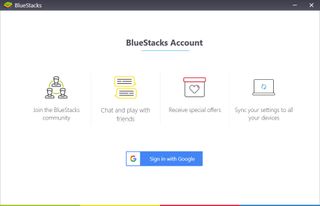
The first time you fire up BlueStacks App Player, you'll be invited to sign into the program with your Google account. This not only lets you participate in the BlueStacks community, it also gives you the option of synchronizing your apps and data with Android devices you own.
Meanwhile, you may notice that BlueStacks is busy installing a number of common apps in the background. A little popup will appear in the lower right hand side of the screen whenever an installation completes.

3. Find apps
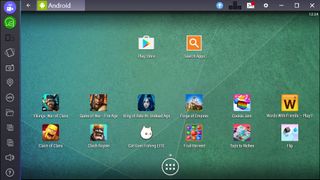
Once signed in, you can start setting up your virtual Android device. First, you'll be presented with a view that looks just like any Android phone or tablet in landscape mode. There are a links to a number of apps on the home screen, and clicking any of these will take you to the Google Play Store to start the installation. If you can't see the app or game you want, click the Play Store icon and search for it.

4. Adjust BlueStacks settings
You might want to change a few of BlueStacks App Player's settings, particularly if you want to boost performance and image quality.
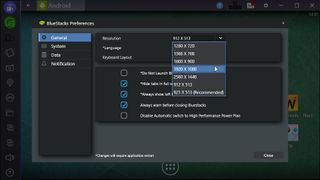
Click the gear icon to the right hand side of the program tool and select Preferences. In the General section you can opt to increase the screen resolution if you want, keeping in mind that if you do make any changes you will need to restart BlueStacks App Player.
Moving to the System section, you can increase the amount of RAM that is dedicated to BlueStacks to help improve performance -- something that could be beneficial to games.

5. Sync your data
One of the great things about running Android apps within Windows using BlueStacks is that it makes it possible to copy data between Windows and Android, and vice versa.
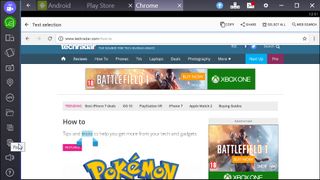
If you're using apps in BlueStacks that sync data to the cloud, you might find it convenient to use your PC's keyboard to quickly enter larger sections of text, copy and paste URLs, and much more far more quickly that you could using your mobile device's on-screen keyboard. You'll find the Copy and Paste buttons in the left-hand toolbar that appears to the side of the main BlueStacks window.

6. Transfer files
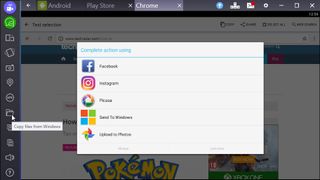
As well as pasting the contents of the clipboard from Windows to apps running in BlueStacks App Player, you can also copy whole files from your computer to your virtual Android device.
You'll find the Copy Files from Windows option in the same toolbar as the Copy and Paste buttons (it’s the icon that looks like an open folder). Navigate to the folder and then files you're interested in before selecting which of your installed apps you'd like to use the files with. This can be a good way to get files into apps like Instagram or other social media sites without transferring them to your phone or tablet first.

7. Install Android APKs
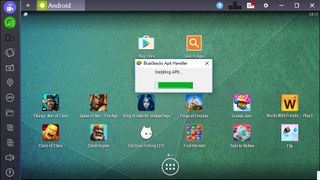
Another feature that BlueStacks brings is the option to install APK files from Windows in Android. This is handy if you want to install apps that aren't available in your country, and there are numerous sites that offer APK files (the installers for apps) for download.
With BlueStacks you can use your Windows PC to download a batch of APKs and then install them at once. Just click the APK button the in the left-hand toolbar, select the APK files you've downloaded, and run through the installation.

8. Switch app tabs
As you open apps, games and folders, you'll notice that the top of the screen become populated with a number of tabs that are similar to buttons in Windows taskbar. These provide a quick and easy way to switch between open apps, and the little X on each tab can be used to closed apps without the need to switch to them.
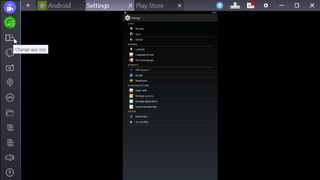
You can also maximize BlueStacks for a full-screen gaming experience, and rotate to portrait mode using the left hand 'Change app size' button.

Post a Comment